
Selected AP or Selected STA.
Before you begin
- Place C5TAKO™ near the network you need to inspect.
- Use only your own networks and devices, or ones you are authorized to use.
- Stop any other Wi-Fi feature before starting a scan.
📡 AP — Router or Access Point
1
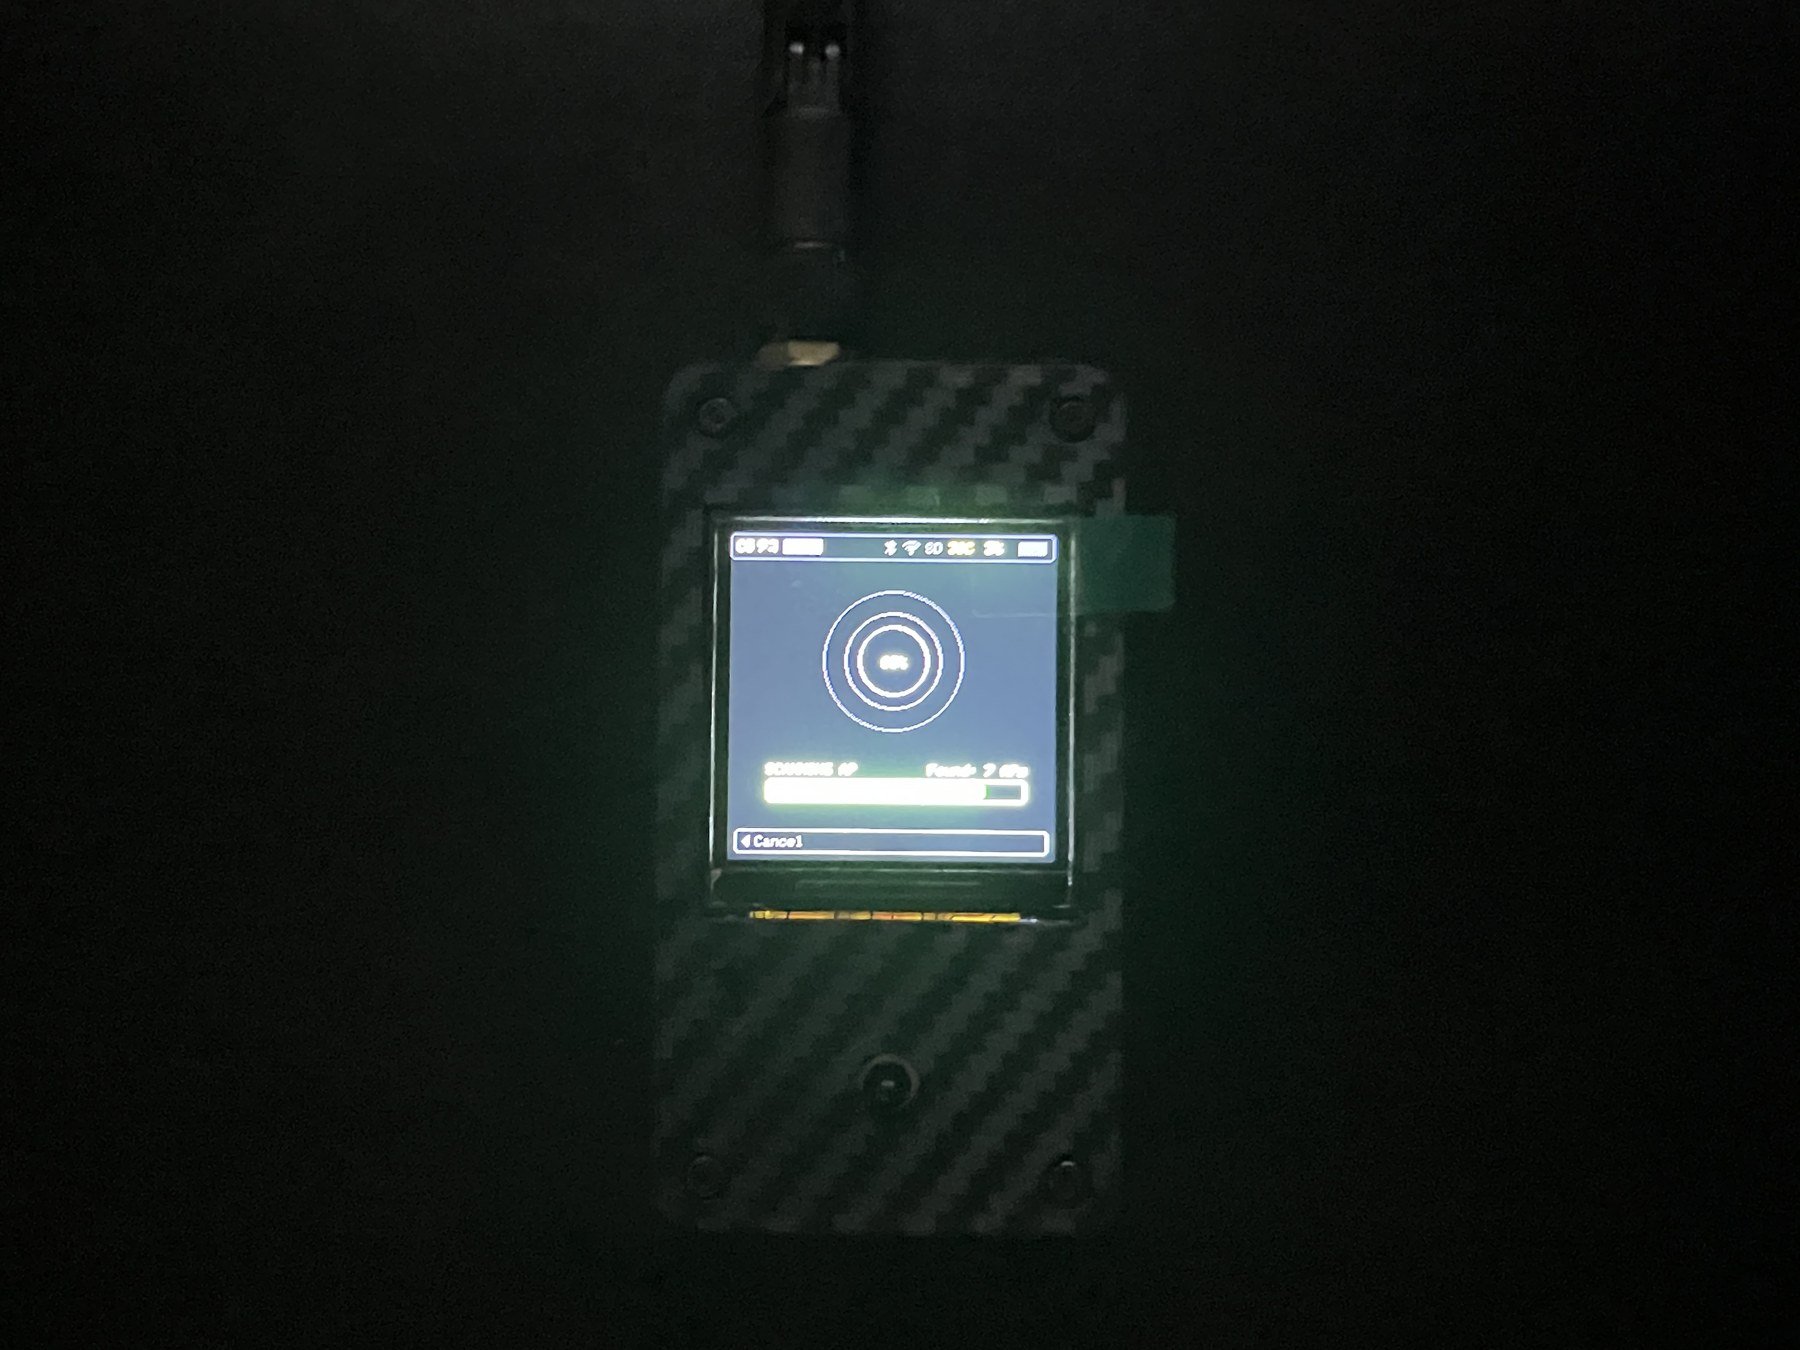
Start scanning
Open
WIFI → SCAN → AP → Scan and wait for the network list.2
Open discovered networks
Open
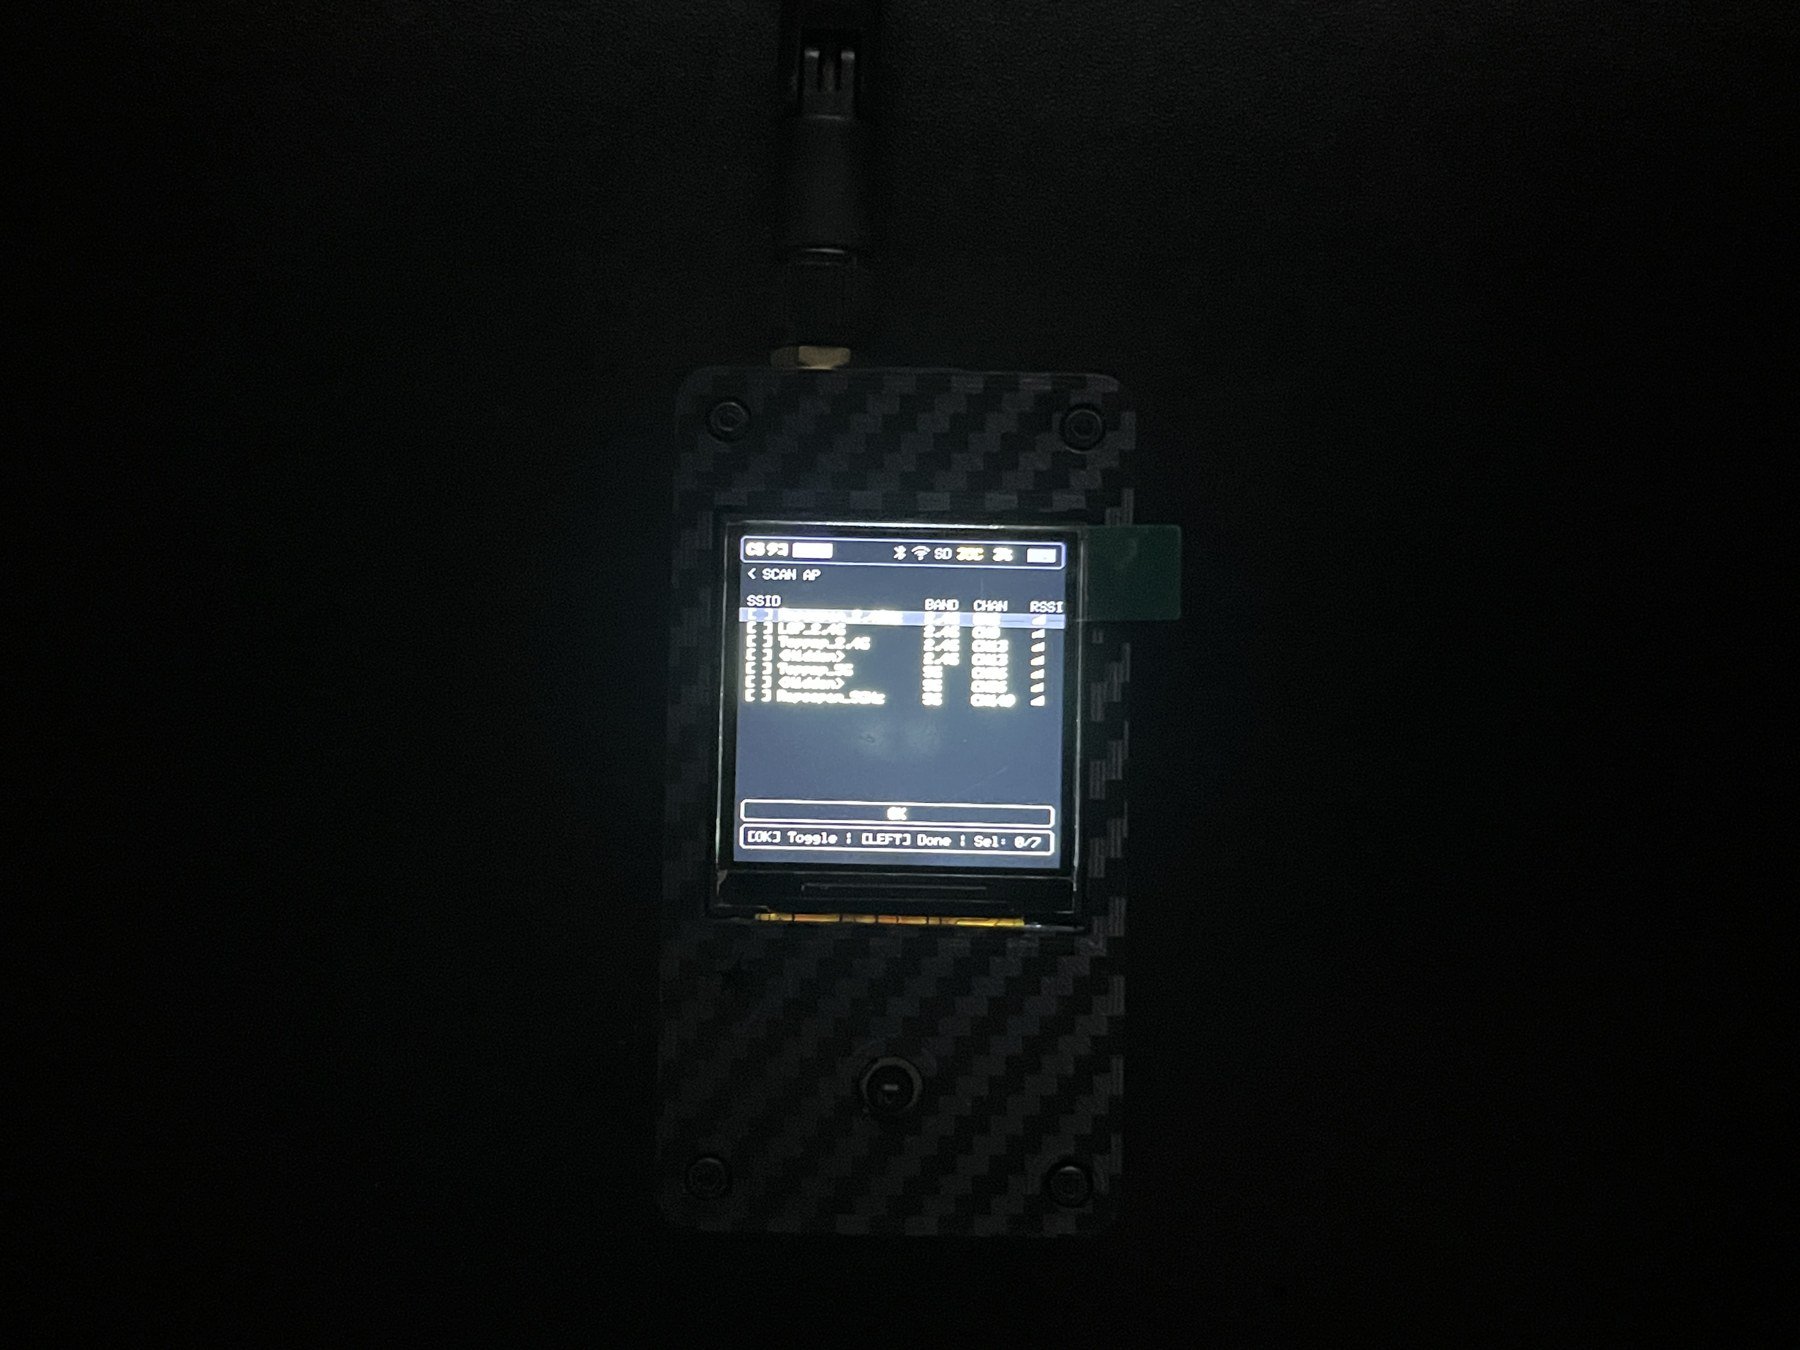
WIFI → SCAN → AP → Select, then use up/down to browse network names.3
Select an AP
Press the center button on the intended network. Once selected, this AP is used by commands labeled
Selected AP.4
Check its details
Open
WIFI → SCAN → AP → Info to view the selected AP.AP → Info shows the selected network’s information.
📱 STA — Phone or client
- Open
WIFI → SCAN → STA → Scan. - Wait for scanning to finish and for devices to appear.
- Open
WIFI → SCAN → STA → Select. - Use up/down, then press the center button on the intended device.
- Open
WIFI → SCAN → STA → Infoto inspect the selected device.
STA → Info shows the selected device’s information.
🔄 Scan AP+STA
✅ Check whether selection succeeded
OpenAP → Info or STA → Info. If the screen shows the intended entry’s information, it was selected successfully.
Next: ⚠️ Test a network or 📡 Inspect signals.